____________________________________________________________________________________
____________________________________________________________________________________
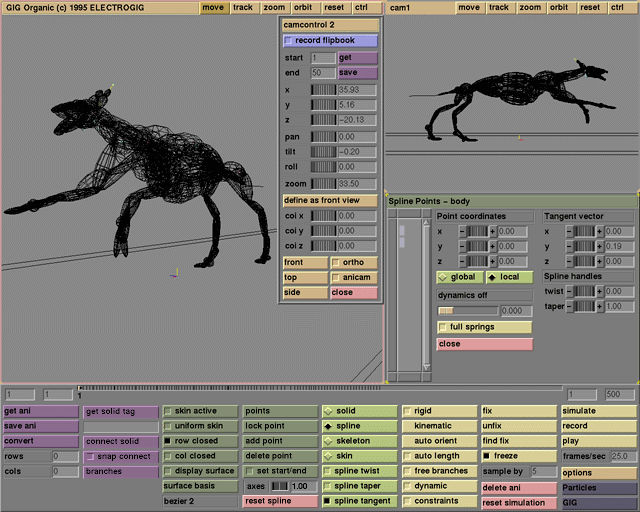
Usage
Click record flipbook to start storing images of the animation in the corresponding camera window. These images can be individual frames during playback, recording or simulation, or interaction steps (including camera movements). The screen flashes when all images have been stored. The text on the play button will now have changed into play recording. Click this button to review the recorded images. The frames/sec entry box can be used to change the speed with which the images are shown. The images can also be viewed using the animation time-line. If there is no recorded image for a frame number, the nearest image is repeated.
Comments
The wireframe flipbook is discarded after the record flipbook button has been switched off. Wireframe flipbooks can saved to or loaded from disk using the get and save buttons in the Camera control window. Leave the record flipbook button on while viewing the recorded images. Storing images can slow down interaction, especially for large windows or if many recording camera windows are open. Use small windows for recording flipbooks, this is faster and saves memory and disk space.
See also
start, end, get, save, play, frames/sec, timeline
____________________________________________________________________________________
Usage
Click the start or end entry box to activate it. You can now change the start or end for the flipbook recording.
Comments
Set the start and end before activating record flipbook. During recording the start and end cannot be changed. After recording the start and end can be changed but the number of frames cannot. The start and end are saved with the wireframe flipbook so when loading in another flipbook the start may have to be adjusted to your current start frame.
See also
record flipbook, get, save
____________________________________________________________________________________
Usage
Click get to load a previously saved flipbook from disk.
Click save to save the currently recorded flipbook to disk.
Comments
The start and end are saved with the wireframe flipbook so when loading in another flipbook the start may have to be adjusted to your current start frame.
See also
record flipbook, start, end
____________________________________________________________________________________
Usage
Specific camera variables can be set with the wheels or by entering values in the entry boxes. X, y, and z are the camera position; pan and tilt are the horizontal and vertical angles; roll is the rotation of the camera around the viewing axis; and zoom is the lens zoom factor.
Comments
Changes made to the animated anicam camera when anicam is on will be discarded after play is pressed.
See also
define as front view, coi x, coi y, coi z, front, top, side, ortho, anicam
____________________________________________________________________________________
Usage
In each camera window there is a coi (center of interest), shown as a yellow, red and blue axis. This coi defines the position and orientation for the front, side and top views. It also defines the orbiting centre. To define the current view as the new front view, click define as front view. Now front, top and side behave to this new setting.
Comments
To reset the coi simply press reset in the camera window.
____________________________________________________________________________________
Usage
The coi (center of interest), shown as a yellow, red and blue axis can be positioned by choosing edit mode solid and clicking on it with the left mouse button and dragging it around. The position can also be specified using the wheels or by typing it in.
Comments
To reset the coi simply press reset in the camera window.
See also
define as front view
____________________________________________________________________________________
Usage
Click one of these buttons to set the camera variables to default positions: front, top, and side view. These views depend on the position and orientation of the coi.
Comments
Each camera window has its own coi.
See also
define as front view, coi x, coi y, coi z
____________________________________________________________________________________
Usage
Toggle the camera projection between perspective and orthographic projection.
Comments
The track variable in the camera window is tied to the distance of the camera to the object. In orthographic projection changing this variable will have no discernable influence.
See also
pan, tilt, roll, zoom
____________________________________________________________________________________
Usage
Click this button to attach the animation camera to this window. The animation of this camera must be created in the animation interface.
Comments
The anicam settings are shown as soon as play is pressed.
See also
pan, tilt, roll, zoom, animation interface
____________________________________________________________________________________
____________________________________________________________________________________
